
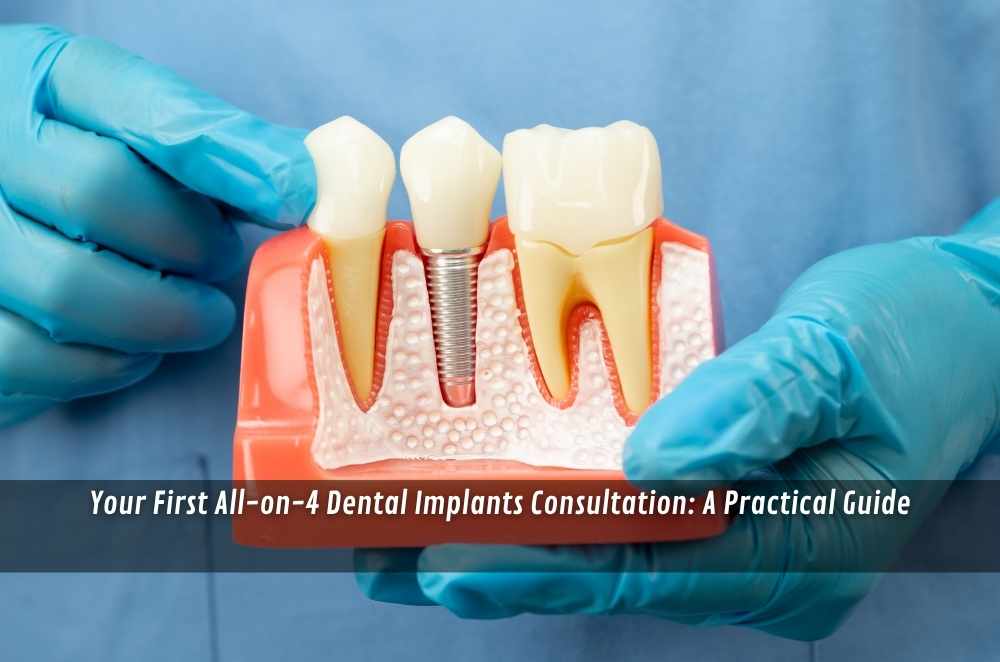
You’ve lost a tooth. Smiling feels a bit exposed. Chewing’s uneven. Someone says, “Just get an implant,” like it’s a quick swap-and-go job. This is the real-world version instead: what the process involves, how it’s typically done, where things can get complicated, and how to care for the result without turning your bathroom into a dental lab. And if you’re also comparing full-arch options, it helps to understand how guided care for all on 4 dental implants fits into the bigger picture of implant planning and long-term maintenance.
What a tooth implant actually replaces
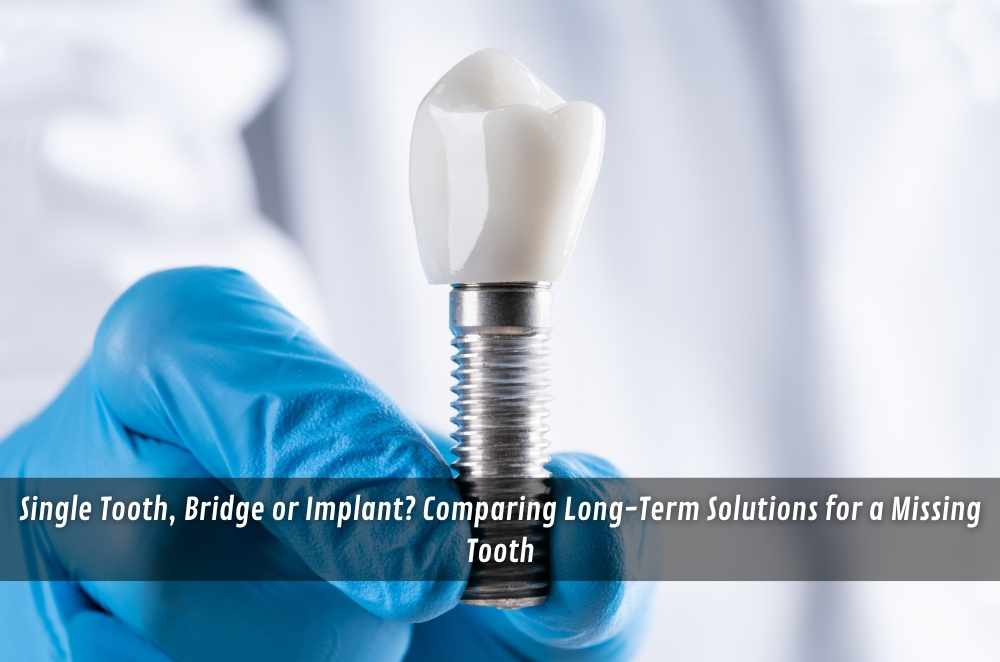
An implant stands in for the root, not just the visible tooth. A small titanium fixture sits in the jawbone; bone cells knit to it (osseointegration). Later, a connector (abutment) and custom crown complete the tooth you can see and chew with. Three parts, one outcome: bite restored.
The fence-post analogy helps. You’re not just swapping a paling; you’re resetting the post in concrete so the fence stays put. Good planning and patient healing time do more for success than any flashy brand name.
When an implant is the sensible choice
It’s not the only option, but it shines when:
One tooth is missing, and you don’t want to drill the neighbours for a bridge.
A partial denture feels loose, affects speech, or messes with taste.
The gap sits in a “smile zone” where lifelike shape and gum contour matter.
You’ve got healthy gums, stable health, and you don’t smoke (or you’re quitting).
Situations to pause:
Active gum disease, poorly controlled diabetes, or recent infection at the site.
Very thin bone — you may need grafting first.
Heavy night grinding without protection — load management matters.
A quick reality check: multiple missing teeth may be better served with an implant bridge or an implant-stabilised denture. One size does not fit all.
The step-by-step (with honest timeframes)
1) Assessment and planning
Medical history, gum health, bite, photos, and a CBCT scan to map bone height/width. Planning is where most complications are prevented. If the bone is too thin, grafting options are discussed now, not halfway through.
2) Extraction and site prep
If a compromised tooth remains, it’s removed. Depending on the infection and bone quality, your dentist may place the implant straight away or wait for healing. Choose patience over shortcuts.
3) Implant placement
Local anaesthetic (sometimes light sedation). A precise channel is prepared; the implant is torqued to its seat. A cover screw or healing abutment goes on top. You leave with strict aftercare and a soft-food plan.
4) Osseointegration
The quiet phase. Lower jaw often stabilises in ~8–10 weeks; upper jaw ~10–16 weeks. Add time for grafts. It’s not “nothing is happening” time. It’s the foundation being set.
5) Uncovering and impressions
If the implant was buried, it’s uncovered. A small cap shapes the gum. Impressions or a digital scan capture the exact position for the lab.
6) Crown fit and bite check
The crown is screwed in (easier to service) or cemented. The bite is adjusted. You’re asked to test soft foods that day and report any high spots or “tingle” feelings.
7) Maintenance
Daily cleaning, professional reviews, and X-rays when due. The boring bits extend lifespan.
Anecdotally: years ago, I assisted a patient who swore they had “high pain tolerance.” They blitzed Day 1, then ate crusty bread on Day 2. Cue swelling and a grumpy implant. The lesson stuck: soft foods for the first few days isn’t babying it; it’s protecting your investment.
Risks, costs and expectations (minus the fluff)
No surgery is risk-free. Government-reviewed guidance on risks of tooth implant covers infection, nerve irritation, gum problems, and early failure (rare, but real). Risk climbs with smoking, uncontrolled diabetes, active gum disease, or heavy grinding.
Practical truths you won’t always see in ads:
Soreness and swelling for a few days is normal. Bruising happens.
Early “failure” usually means it didn’t integrate; many can be redone after healing.
Timelines extend with grafting. Budget time as well as money.
Ask for an itemised plan: components, lab fees, imaging, sedation, and reviews.
Clarify whether the abutment is custom or stock. That detail influences gum shaping and cleanability.
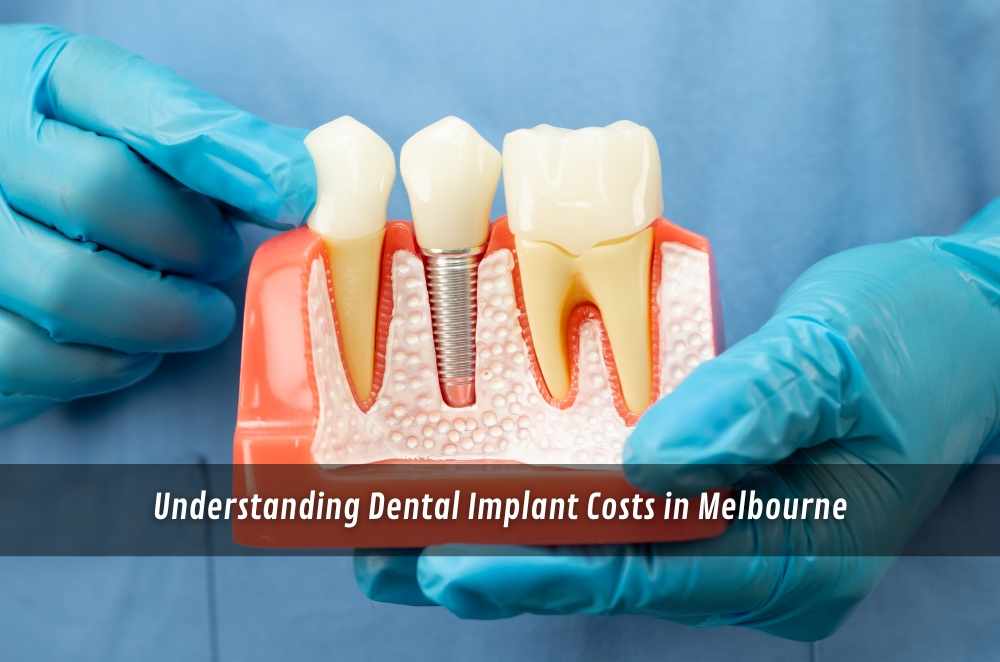
On money: cheaper isn’t always a bargain if reviews and maintenance aren’t baked in. But a high price doesn’t guarantee craftsmanship either. You’re paying for planning, sterility, skilled hands, and follow-through.
Aftercare that actually keeps it healthy
Two levers: hygiene and forces.
Daily routine that works in the real world:
Brush twice daily, angle into the gumline. Electric brushes are fine.
Clean the implant sides with interdental brushes sized by your clinician.
Water flosser = helpful adjunct, not a replacement.
Night guard if you grind. It spreads the load and protects the ceramic.
Want the full run-through, from brush sizes to recall rhythm? Bookmark tooth implant care— that’s where the step-by-step lives.
Clinic recalls are not upsells. They’re insurance. Probing, x-rays when indicated, professional debridement — all the dull stuff that stops small inflammation from becoming big trouble.
What the first weeks really feel like
Two moments pop up in almost every case file.
Day-after reality
Most people describe a bruise, not a drama. Paracetamol and ibuprofen (if suitable for you), ice packs in short bursts, and no hot rinses on Day 1. The weirdest sensation is your tongue wanting to explore the site. Don’t. It’s stitched and wants to be left alone.
First bite at the crown fit
I hand over a cotton roll and then a soft snack (the “banana test”). The surprise is consistent: it feels like a tooth, not a bolt. The bigger adjustment is trusting it. Give it a week for your bite pattern to even out.
Alternatives worth considering
Not ready for an implant? You have choices.
Resin-bonded bridge (Maryland): Minimal drilling. Great interim, especially in the front.
Conventional bridge: Good when neighbours already need crowns.
Partial denture: Budget-friendly, removable; handy during graft healing.
Watchful waiting: If the gap is hidden and your bite is stable, monitoring can be reasonable — just know teeth love to drift.
Front teeth are a different beast
In the anterior zone, gum scallop and translucency are unforgiving. That’s why extraction techniques, temporary crowns for gum shaping, and exact implant positioning matter more. If you want a neutral, non-branded walkthrough of the nuances, dig into the front tooth implant procedure before you commit. It helps align expectations around aesthetics versus biology.
Common pitfalls (and easy fixes)
Chewing hard too soon: Baby the site for a few days after each stage.
Skipping interdental brushes: Plaque hides where the crown meets the gum.
Ignoring night grinding: Small splint, big difference.
Not knowing your parts: Ask for the implant brand, size, and lot numbers. Handy if you move or need service later.
How to choose a clinic with less guesswork
Three signals cut through the noise:
Planning discipline: Do they scan, measure, and explain the risks in plain English?
Transparent staging: Is the timeline (especially with grafts) written down?
Maintenance culture: Do they book recalls and talk prevention, not just placement?
If those boxes are ticked, a single tooth implant in Melbourne is often the most lifelike, low-fuss way to close a gap for the long haul.
Final thoughts
Teeth are personal. So is risk tolerance, budget, and patience for healing. Read the government overview on risks of tooth implant, sketch your timeline honestly (including graft time if needed), and commit to the dull-but-effective aftercare. Whether you go ahead now or later, keep options open, ask for itemised plans, and write down your questions before consults. A clear plan plus consistent maintenance beats brand names every time.

Write a comment ...